A dog who hears the clippers and quietly walks away is not being difficult. More often, they are telling you the process feels unfamiliar, uncomfortable, or rushed. Dog nail trimming at home goes much better when it feels calm, predictable, and gentle from the start.
For many pet parents, nails are the hardest part of at-home grooming. Baths are manageable. Brushing feels straightforward. But paws are sensitive, dogs pull away, and nobody wants to trim too short. The good news is that a smoother routine usually has less to do with bravery and more to do with setup, timing, and technique.
Why dog nail trimming at home matters
When nails get too long, comfort changes before most owners notice. A dog may start shifting their weight differently on hard floors, slipping a little more often, or standing with the toes pushed upward. Over time, long nails can affect posture and make everyday movement less comfortable, especially for seniors, puppies still developing coordination, and dogs with joint issues.
There is also the practical side. Long nails are more likely to snag on rugs, tap loudly across wood floors, and scratch skin by accident during greetings. Regular trimming helps keep paws tidy, movement more natural, and home life a little more comfortable for everyone.
That said, frequency depends on the dog. Active dogs that spend time on sidewalks may wear nails down more naturally than indoor dogs or small breeds. Some dogs need touch-ups every two to three weeks. Others can go longer. The best schedule is the one that keeps the nails from reaching the floor when your dog is standing normally.
Before you start, set the tone
The biggest mistake people make is starting the trim before the dog is settled. If your dog is already wiggly, excited, or suspicious, even a simple paw touch can turn into a wrestling match. Choose a time when your dog is relaxed, not right after the doorbell rings or during a burst of evening energy.
Your environment matters too. Good lighting helps you see the nail clearly. A quiet room helps reduce tension. A non-slip surface gives your dog more confidence. If your dog slides while you hold a paw, they are far more likely to resist.
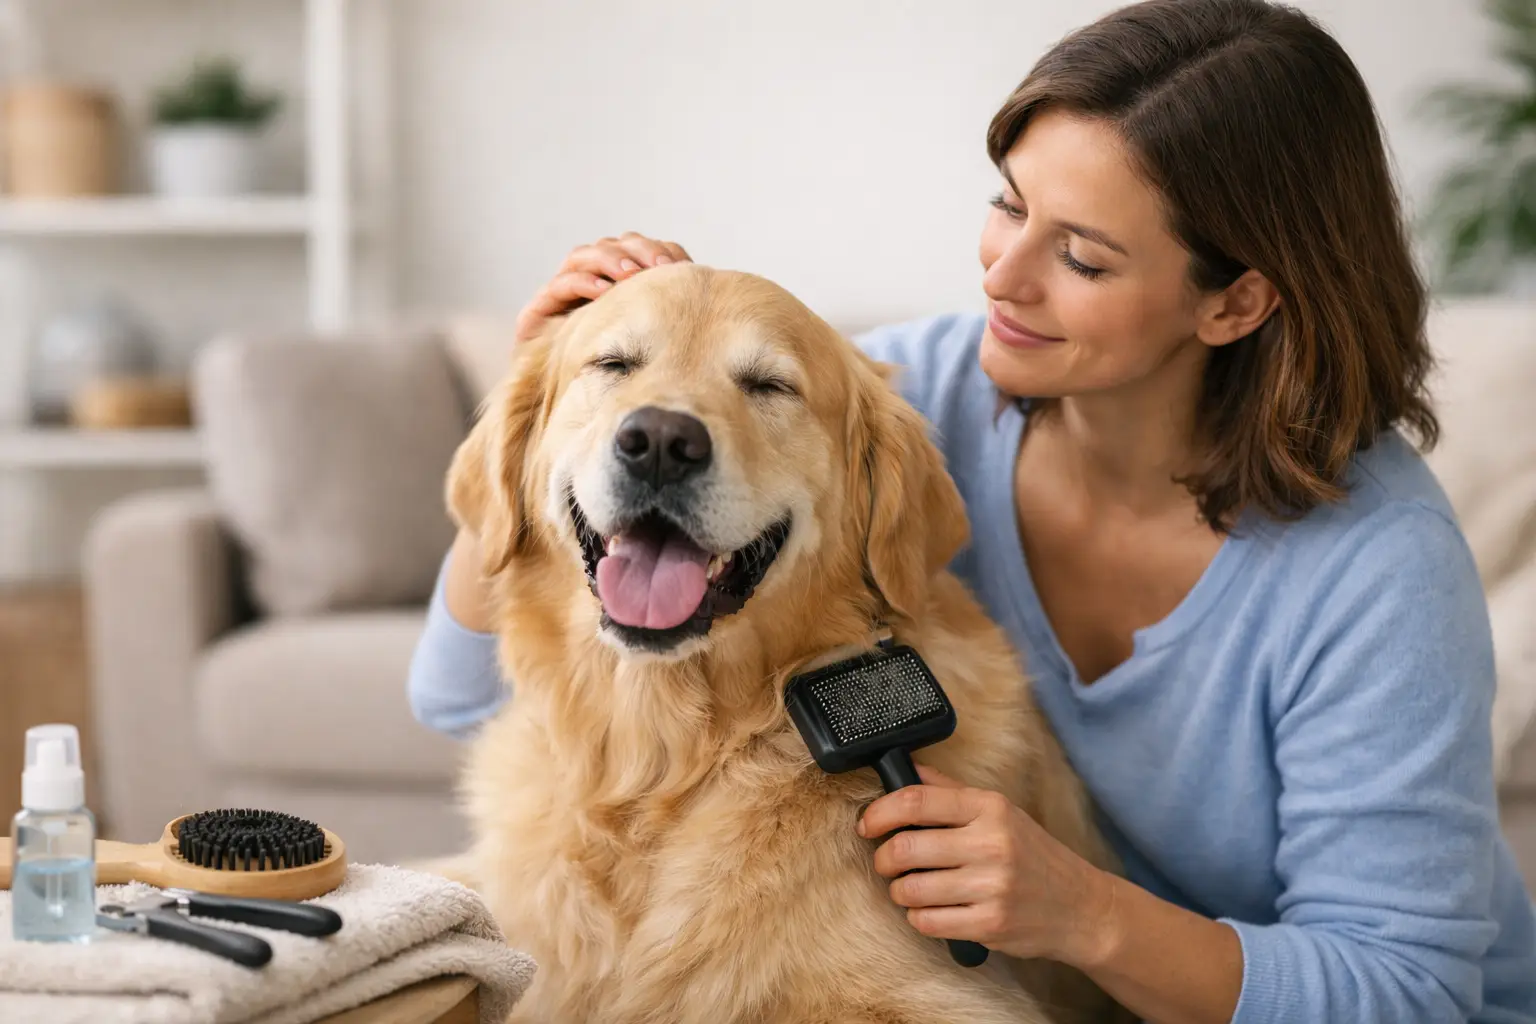
Keep your tools close before you begin. Most owners do best with either scissor-style clippers, guillotine-style trimmers, or a nail grinder. Clippers are quick and familiar. Grinders can create a smoother finish and may feel safer for owners worried about trimming too much at once, though some dogs dislike the sound or vibration. It depends on your dog’s temperament as much as your comfort level.
Treats help, but timing matters. Reward calm behavior before, during, and after the trim. You are not bribing your dog into tolerating something scary. You are building a clear association that paw handling leads to reassurance and good things.
How to approach the paw without creating stress
Start before you clip anything. Touch the shoulder, then the leg, then the paw. Pause. Reward. If your dog stays relaxed, gently hold one toe for a second, then let go. Reward again. This may sound slow, but for anxious dogs, this is often the difference between cooperation and resistance.
If your dog has never liked their feet handled, break the process into separate sessions. One day can be about touching paws. Another can be about introducing the clipper or grinder. The next can be one nail only. Progress counts, even when it looks small.
Watch your dog’s body language closely. A soft face, loose posture, and steady breathing usually mean you can continue. Pulling away repeatedly, lip licking, tucked posture, or rigid muscles mean you should slow down. Pushing through rarely creates confidence. It usually teaches the dog that they were right to worry.
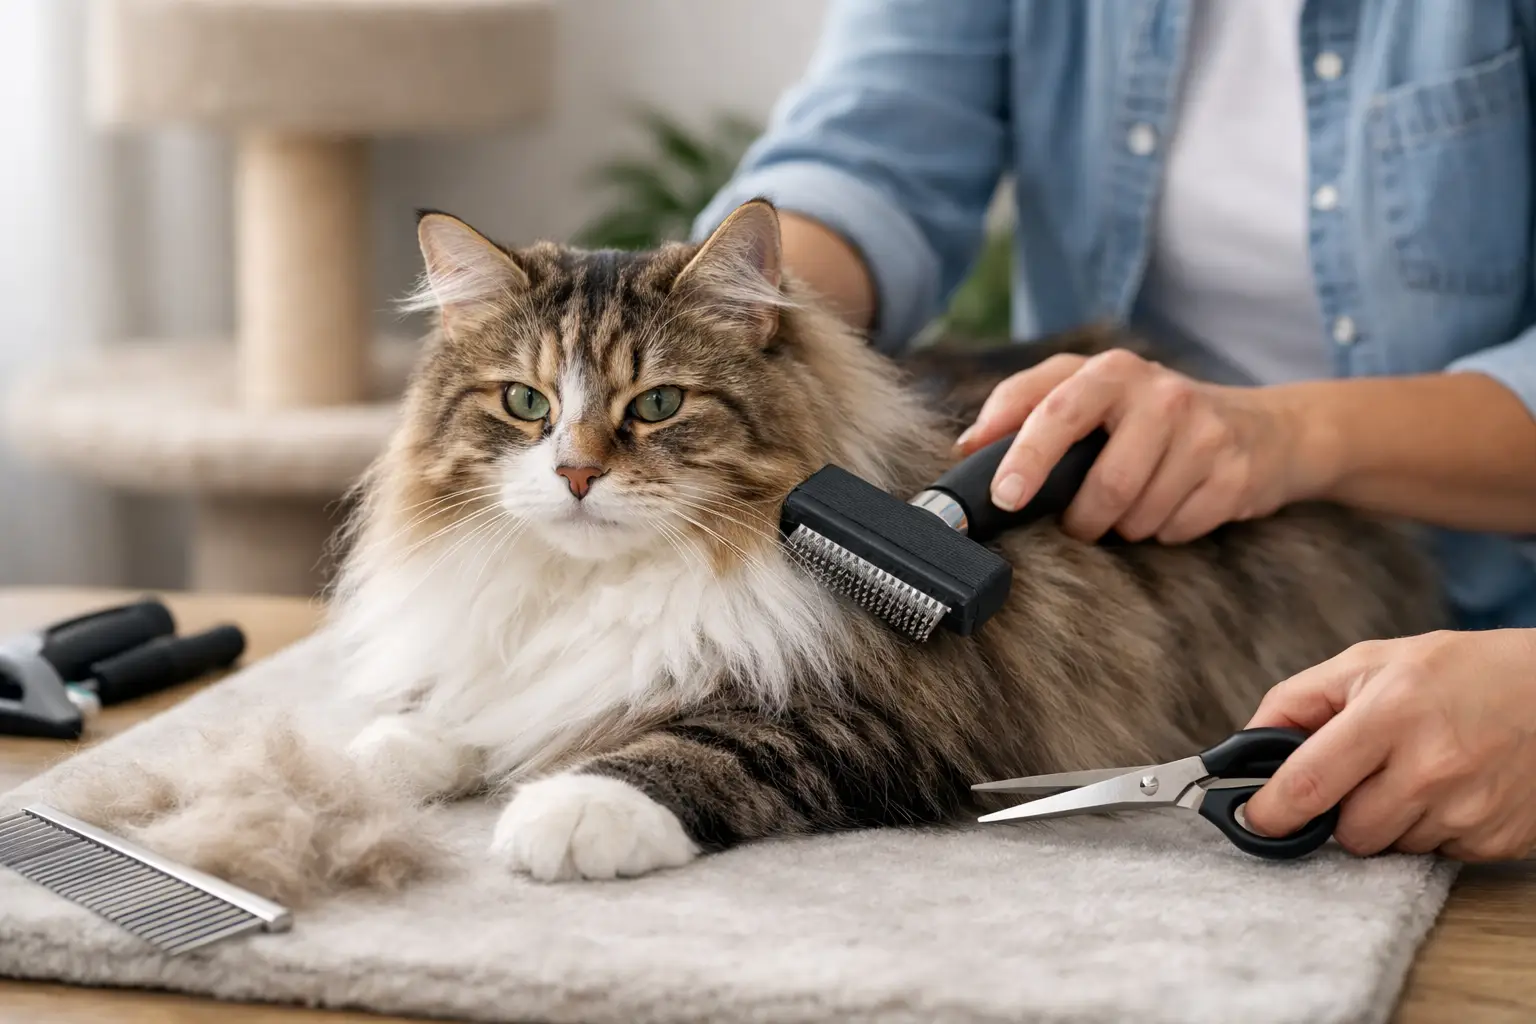
Dog nail trimming at home step by step
Hold the paw gently but securely. You do not need a tight grip. With your fingers, separate the toe slightly so you can see the nail clearly. Look for the curve of the nail and identify where the quick may be.
On clear or light-colored nails, the quick is often visible as a pink area inside. On dark nails, you will need to be more conservative. Trim small amounts at a time rather than trying to remove too much in one cut. If you are using a grinder, use short passes and check frequently.
Aim to take off the tip first. After each trim, look at the center of the nail. On dark nails, a chalky white center usually means you still have room. As you get closer to the quick, the center often appears darker or more moist-looking. That is your signal to stop.
Front paws and back paws may be very different. Many dogs tolerate one more than the other. Some are fine with clipping but dislike the grinder. Others prefer the grinder because it feels more gradual. Adjusting your method is not inconsistency. It is thoughtful handling.
If your dog becomes restless halfway through, stop before the session turns negative. You do not need to finish every nail in one sitting. Three nails today and three tomorrow is still good care.
If you cut the quick
Even careful owners can nick the quick. It is upsetting in the moment, but it does happen. If the nail bleeds, stay calm. Use styptic powder or another pet-safe clotting product and apply gentle pressure as directed. Most minor quick cuts stop bleeding quickly.
What matters next is your response. If you panic, your dog is more likely to remember the moment as frightening. Speak softly, give them a break, and end on a calm note. The goal is to prevent one mistake from becoming a lasting fear.
If bleeding does not stop, or your dog seems unusually distressed, contact your veterinarian. And if you know you feel too anxious to trim after one bad experience, it is wise to have a professional step in rather than turning every future nail session into a stressful event.
When at-home trimming works well, and when it doesn’t
Some dogs are excellent candidates for routine trimming at home. They are comfortable with touch, reasonably patient, and not especially reactive about their feet. In those cases, a short, consistent schedule often works beautifully.
Other dogs need more support. Senior dogs with arthritis may struggle to hold certain positions. Rescue dogs may have a history that makes paw handling deeply uncomfortable. Strong, fearful dogs can become hard to manage safely if they panic. In those situations, the question is not whether you love your dog enough to do it yourself. The question is what creates the safest, lowest-stress experience.
That is where professional help can make a real difference. A calm, one-on-one setting often changes everything for dogs who shut down in busy salons or become overwhelmed by noise and waiting areas. For many families, alternating between maintenance at home and scheduled professional nail care is the most practical approach.
Small habits that make future trims easier
Consistency helps more than intensity. Short, calm sessions every couple of weeks are usually better than waiting until the nails are clearly overgrown and attempting a full trim under pressure. The more routine it feels, the less emotionally loaded it becomes.
Regular paw handling between trims also helps. Touch your dog’s paws during cuddle time, after walks, or while offering treats. Brief, casual contact teaches your dog that feet are not only touched when something uncomfortable is about to happen.
Keep your tools clean and in good condition. Dull clippers can crush rather than cleanly cut, which is more uncomfortable. Grinders should be used with care and not held in one spot long enough to create heat. Good tools do not replace technique, but they do make the experience smoother.
And if your dog’s nails click on the floor, curl noticeably, or seem to affect how they stand, do not wait too long to address it. Delaying usually makes the next trim harder, not easier.
There is nothing minor about paw comfort. A steady, gentle routine can protect your dog’s movement, reduce stress, and make grooming feel far more manageable at home. And when the job calls for a steadier hand or a calmer setting, choosing extra support is also part of caring well for your dog.
3 Responses